AdGuard Home with Docker - Part 1: Introduction & Prerequisites
A few months ago, I got tired of seeing ads on every device in my home network. Not just the obvious banner ads, but trackers, analytics scripts, and all the invisible data collection happening in the background.
I knew about Pi-hole and AdGuard Home - network-wide ad blockers that work at the DNS level. But every guide I found assumed you already knew what you were doing. They’d throw commands at you without explaining what they meant, skip over crucial details, or assume you had everything configured just right.
So I decided to write the guide I wish I’d had when I started. This is a complete series - everything you need in one place.
TL;DR / Quick Start
If you’re experienced with Linux and Docker, here’s the 5-minute version:
- Hardware: Raspberry Pi 4 (2GB+) or any Linux machine
- OS: Raspberry Pi OS Lite (64-bit) recommended
- Install Docker:
curl -fsSL https://get.docker.com | sh - Set Static IP: Configure DHCP reservation on your router
- Deploy AdGuard Home:
mkdir -p ~/adguardhome && cd ~/adguardhome # Create docker-compose.yml (see Part 3) docker-compose up -d - Configure: Access
http://YOUR_IP:3000and complete setup wizard - Update Router DNS: Point your router’s primary DNS to your AdGuard Home IP
New to this? Follow the detailed guide below - we explain everything step by step.
Table of Contents
- Why Network-Level Ad Blocking?
- AdGuard Home vs Pi-hole
- Why Docker?
- Prerequisites - What You’ll Need
- Quick Reference: Keyboard Shortcuts
- Text Editor Quick Reference
Why Network-Level Ad Blocking?
Here’s the thing: browser extensions are great, but they only work on that specific browser on that specific device. What about:
- Your smart TV streaming ads between episodes
- Your phone apps tracking your behavior
- IoT devices phoning home with usage data
- Family members’ devices that don’t have ad blockers installed
AdGuard Home solves all of this by blocking ads and trackers at the network level - before they even reach your devices.
AdGuard Home vs Pi-hole
I used Pi-hole for months before switching to AdGuard Home. Here’s what I discovered:
Why AdGuard Home Won Me Over
Simpler Setup
- Pi-hole: Complex web installer, dependency management, manual DNS configuration
- AdGuard Home: Single Docker container, web-based setup wizard, done in 5 minutes
Modern Interface
- Pi-hole: Functional but dated UI, slower response times
- AdGuard Home: Clean, responsive dashboard with real-time stats
Built-in HTTPS/DNS-over-HTTPS
- Pi-hole: Requires additional setup, manual certificate management
- AdGuard Home: Native support, easy Let’s Encrypt integration
Better Filtering Options
- Pi-hole: Basic blocklists, regex support requires learning their syntax
- AdGuard Home: Advanced filtering rules, supports AdBlock-style syntax, parental controls built-in
Easier Updates
- Pi-hole: Multi-step update process, sometimes breaks
- AdGuard Home: Pull new Docker image, restart - takes 30 seconds
Query Log Search
- Pi-hole: Limited search functionality
- AdGuard Home: Powerful filtering, export options, better analytics
What Pi-hole Does Better
- Larger community (been around longer)
- More third-party integrations
- Slightly lower memory usage
Bottom Line
For this tutorial, I’m focusing on AdGuard Home because it offers a modern interface and simpler Docker-based setup. Pi-hole is a solid, well-established option with a larger community—both are excellent choices for network-wide ad blocking.
Choose AdGuard Home if: You want the easiest setup, modern UI, and built-in HTTPS/DoH support.
Choose Pi-hole if: You prefer a mature ecosystem with extensive third-party integrations.
Why Docker?
You might wonder: “Why not just install AdGuard Home directly?”
Docker makes everything easier:
- One command to install vs. 10+ commands with manual configuration
- No system conflicts - runs in isolation
- Easy updates - pull new image and restart
- Clean removal - delete one folder and you’re done
- Portable - copy your config to another device and it just works
Think of Docker like an app on your phone - you install it, it works, you can remove it cleanly. Direct installation is messy and complicated.
Real-World Example:
- Direct Installation: 45 minutes, troubleshooting dependency errors, manual service configuration
- Docker Installation: 5 minutes, works first try, no issues
Prerequisites (What You’ll Need)
Why Do I Need a Dedicated Device?
Important: AdGuard Home needs to run 24/7 to protect your network. Here’s why:
- Always-On Protection: AdGuard Home blocks ads and trackers for your entire network, but it only works when it’s running
- Network DNS: Your devices will use it as their DNS server, so if it’s off, your internet won’t work properly
- Low Power Consumption: Devices like Raspberry Pi use very little electricity (about $5-10 per year)
- Not Your Main Computer: You don’t want to leave your main laptop/desktop on all the time just for ad blocking
Think of it like your WiFi router - it needs to be on all the time for your internet to work.
Hardware Requirements (Your Device)
Recommended Options (Best to Worst)
Raspberry Pi ⭐ BEST CHOICE
- Models: Pi 4 (4GB or 8GB), Pi 5, or Pi 3B+
- Cost: $35-75
- Power: Uses only 2-8 watts
- Size: Credit card sized
- Perfect for: 24/7 operation, low energy use
Mini PC / Thin Client
- Examples: Intel NUC, HP/Dell Thin Clients, Lenovo ThinkCentre Tiny
- Cost: $50-150 (used), $200+ (new)
- Power: 10-25 watts
- Perfect for: More power, better performance, can run other services too
Old Laptop
- Minimum: 2GB RAM, any CPU from last 10 years
- Cost: Free (if you have one)
- Power: 15-45 watts
- Consider: Remove battery if always plugged in (prevents battery swelling)
- Perfect for: Reusing old hardware, built-in screen for troubleshooting
Old Desktop PC
- Minimum: 2GB RAM, any CPU
- Cost: Free (if you have one)
- Power: 50-150 watts (⚠️ higher electricity costs)
- Only if: You don’t have other options
- Consider: May cost $50-100/year in electricity
Orange Pi / Other SBCs (Single Board Computers)
- Similar to Raspberry Pi
- Often cheaper but less community support
- Good alternative if Raspberry Pi unavailable
What You’ll Also Need
Essential:
- Storage:
- Raspberry Pi: 8GB+ microSD card (16GB recommended)
- Computer/Laptop: 16GB+ free space
- Network Connection:
- Ethernet cable (recommended for stability)
- WiFi works but may be less reliable
- Power Supply:
- Raspberry Pi: Official power supply or quality USB-C charger
- Other devices: Their standard power adapter
Highly Recommended (Optional - Can be skipped by experienced users):
- UPS (Uninterruptible Power Supply) ⚡
- Protects against power outages and fluctuations
- Keeps your network running during brief outages
- Prevents SD card corruption from sudden power loss
- What to get: Small UPS (600VA-900VA, $60-120)
- Connect to UPS:
- Your modem/router
- Your AdGuard Home device (Raspberry Pi/laptop/etc.)
- Optional: Network switch if you have one
- Benefits:
- Network stays up during short power outages (15-30 minutes)
- Graceful shutdown during longer outages
- Protection from power surges
- SD card/storage protection (sudden power loss can corrupt data)
- Popular models: APC Back-UPS 600VA, CyberPower CP685AVR, Tripp Lite 750VA
- Worth it? Absolutely! One power outage that corrupts your SD card will cost more than a UPS
Optional (But Convenient):
- External monitor, keyboard, and mouse (only for initial setup if needed)
- Case for Raspberry Pi (for protection)
Headless Operation (No Screen Needed) 💡 RECOMMENDED
Optional - Experienced users can skim this section
What is “headless”? Running your device without a monitor, keyboard, or mouse.
Why go headless?
Cost Savings
- Don’t need to buy a monitor, keyboard, or mouse
- Raspberry Pi can run “headless” right out of the box
Space Savings
- Device can sit next to your router
- No desk space needed
Energy Savings
- Monitors use 20-40 watts
- No monitor = lower electricity bill
Professional Setup
- Servers run headless - this is how professionals do it
- More reliable (fewer components to fail)
How to manage headless device:
Option 1: SSH (Secure Shell) - BEST METHOD ⭐
- Control your device from any computer on your network
- Type commands from your laptop/desktop as if you were sitting at the device
- Fast, secure, professional
- Setup time: 5 minutes
Option 2: Plug in When Needed
- Keep an external monitor/keyboard/mouse available
- Plug them in only when you need to troubleshoot
- Unplug when done
Recommendation:
- Use headless operation with SSH
- Keep a monitor/keyboard/mouse available “just in case”
- After initial setup, you’ll rarely (if ever) need the screen
For this tutorial:
- We’ll show you how to enable SSH in Part 2
- All commands can be run via SSH instead of local terminal
- You’ll learn the professional way to manage servers
Software Requirements
For Raspberry Pi
Download Raspberry Pi OS:
- Official Download Page: https://www.raspberrypi.com/software/
- Direct Downloads: https://www.raspberrypi.com/software/operating-systems/
Which Version Should You Download?
You have three main options:
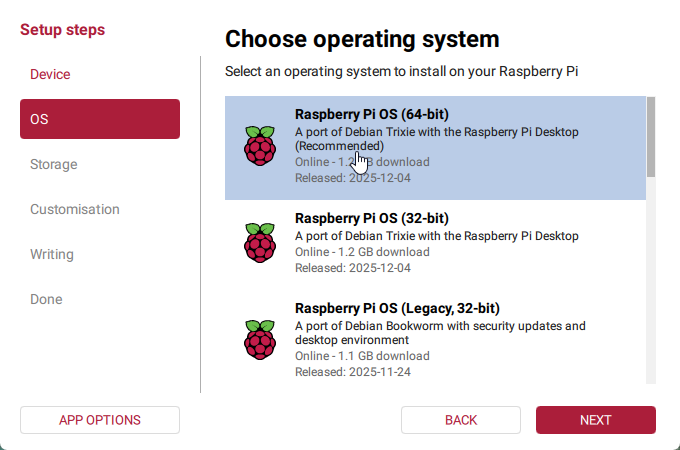
Raspberry Pi OS Lite (64-bit) ⭐ RECOMMENDED FOR THIS PROJECT
- Best for: Headless operation (no monitor)
- Size: Smallest (~400MB)
- No desktop environment - Perfect for servers running 24/7
- Recommended for: Pi 3B+, Pi 4, Pi 5 with 2GB+ RAM
- Why choose this: Less RAM usage, faster performance, perfect for AdGuard Home
Raspberry Pi OS with Desktop (64-bit)
- Best for: If you want a graphical interface
- Size: Medium (~1GB)
- Includes: Desktop environment, basic apps
- Recommended for: Pi 4, Pi 5 with 4GB+ RAM
- Why choose this: Easier to troubleshoot with visual interface, good for beginners
Raspberry Pi OS Full (64-bit)
- Best for: Using Pi as a desktop computer
- Size: Large (~2.5GB)
- Includes: Desktop + recommended software
- Not recommended: Too much overhead for a server
32-bit vs 64-bit:
- Use 64-bit if you have:
- Raspberry Pi 4 or Pi 5
- Raspberry Pi 3B+ (works but 64-bit is better)
- Use 32-bit only if you have:
- Raspberry Pi 3B or older models
- Less than 2GB RAM
How to Install:
Download Raspberry Pi Imager from https://www.raspberrypi.com/software/
Insert your microSD card into your computer
Open Raspberry Pi Imager
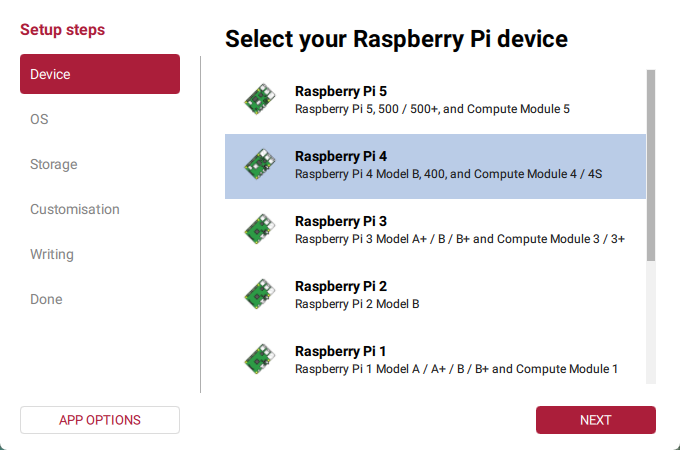
Choose Device: Select your Raspberry Pi model
Choose OS: Raspberry Pi OS Lite (64-bit)
Choose Storage: Select your microSD card

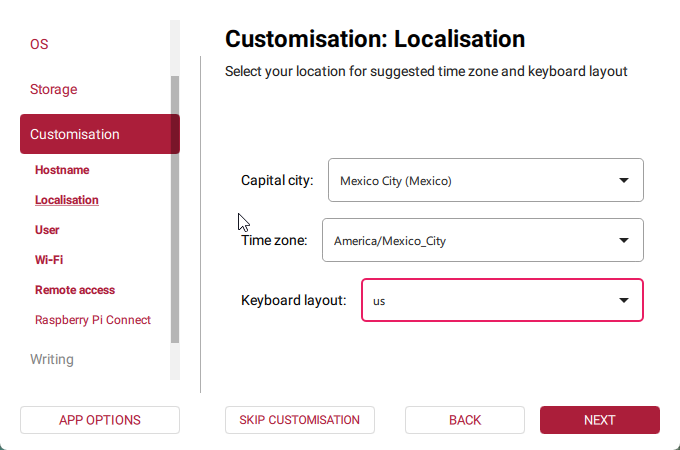
Customization Settings: After selecting device, OS, and storage, the customization menu will automatically open. This is where you’ll configure:
Hostname: Set a name for your Pi (e.g.,
pilab)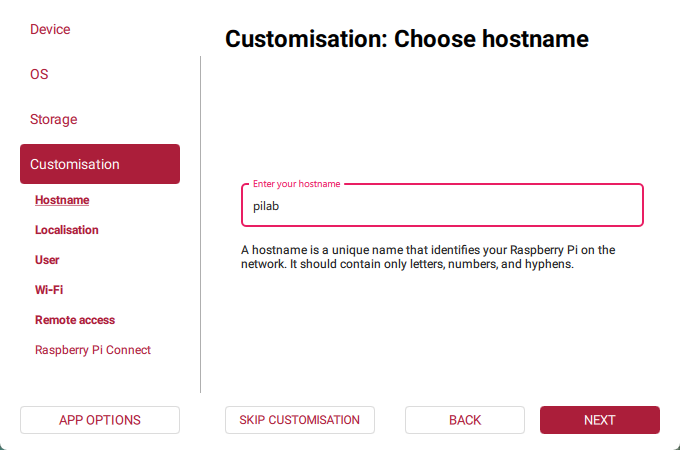
Localisation: Configure your timezone and keyboard layout
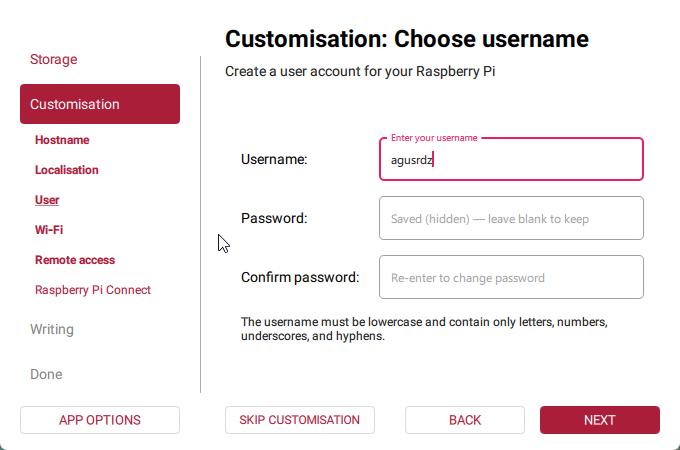
User: Create your username and password
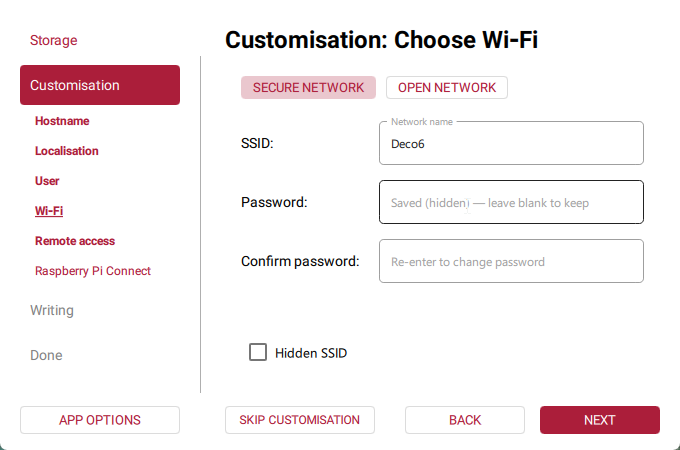
WiFi: Configure your WiFi network (if not using ethernet)
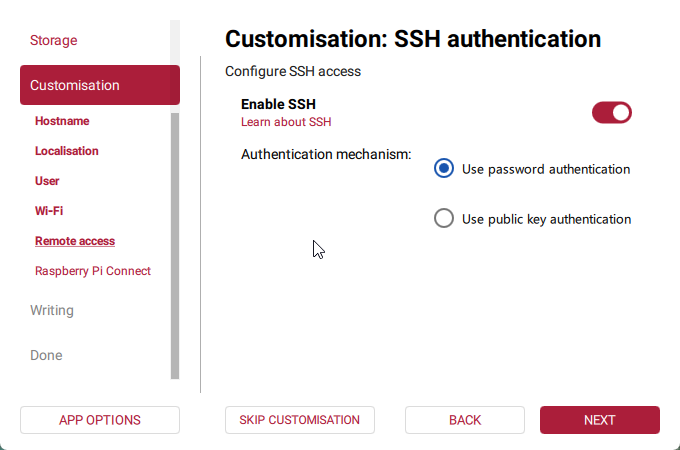
SSH: Enable SSH (very important for headless!)
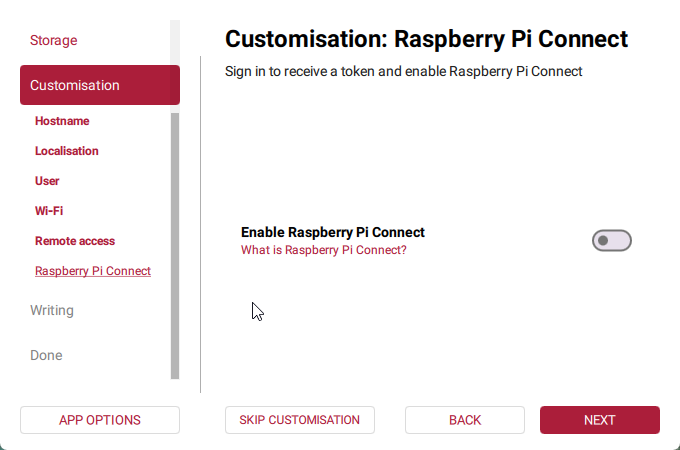
Raspberry Pi Connect: Optionally enable Pi Connect (can be skipped)
Review and Write: Review your configuration
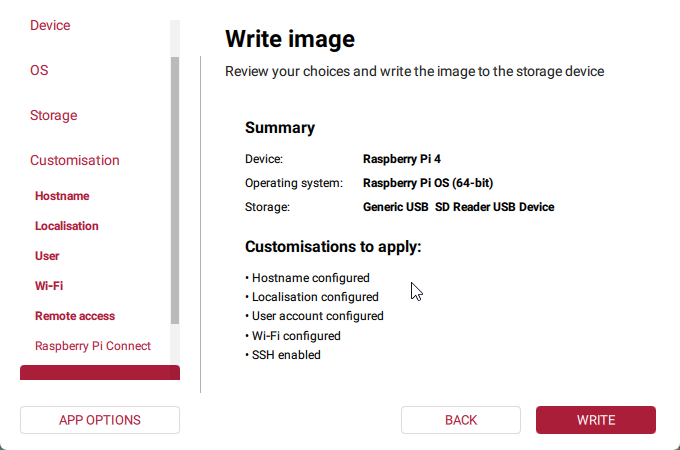
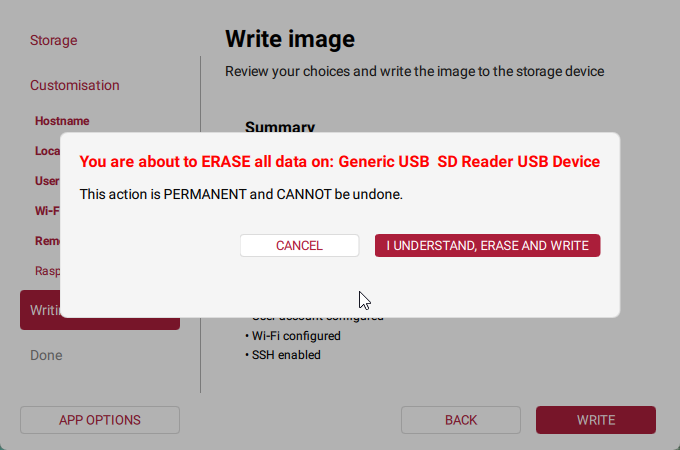
Confirm: Confirm that you want to overwrite the SD card (this will erase all data!)
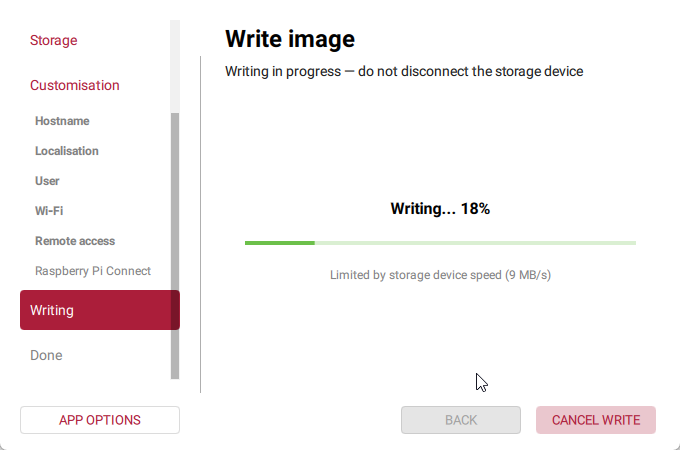
Writing Process: Wait for the writing process to complete
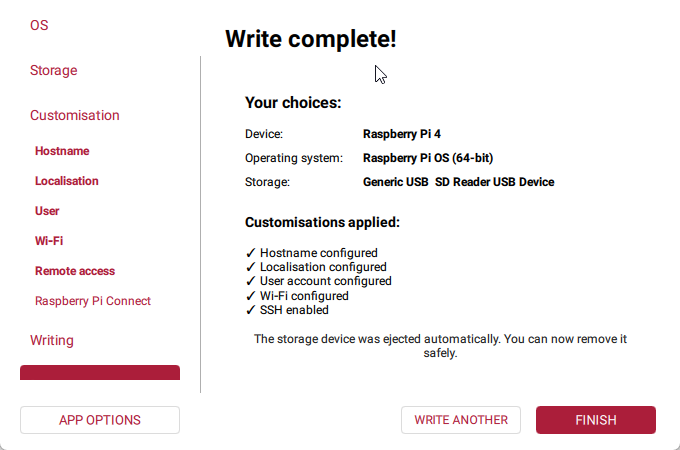
Complete!: Once you see “Write complete”, you can safely eject your SD card
Pro Tip: The Raspberry Pi Imager can configure SSH and WiFi for you during the installation process - this saves you time!
For Old Laptop/Desktop
- Ubuntu: https://ubuntu.com/download/server (Server version recommended)
- Debian: https://www.debian.org/distro/netinst (Network install)
- Any other Linux distribution you’re comfortable with
Internet Connection
- Internet connection required for downloading packages and Docker images
Network Setup: Where to Connect Your Device
AdGuard Home can work with any network setup:
Option 1: Direct Router Connection (Recommended)
- Plug your Raspberry Pi/device directly into your main router with ethernet
- Best performance and reliability
- Works with: Any router, modem/router combo
Option 2: Mesh Network Connection
- Connect to any mesh node (main or satellite)
- Works with: Google WiFi, Eero, TP-Link Deco, Netgear Orbi, etc.
- Note: Configure DNS on the main mesh router, not individual nodes
Option 3: Network Switch Connection
- If your device is plugged into a network switch, that’s fine
- The switch connects to your router, so it’s all on the same network
Option 4: WiFi Connection
- Works, but ethernet is more reliable
- Make sure WiFi is stable (device close to router/AP)
Important Network Notes:
⚠️ Router Configuration Varies by Brand
- Every router has different menus and settings locations
- Common locations for DNS settings:
- “DHCP Settings”
- “LAN Settings”
- “Internet Settings”
- “Advanced Settings” → “DNS”
- Search Google for: “YOUR_ROUTER_MODEL set custom DNS”
- Example: “Netgear R7000 set custom DNS”
⚠️ Mesh System DNS Configuration
- Configure DNS on the main mesh unit (not satellites)
- All devices on the mesh will use the same DNS
- Mesh systems: Usually in the mobile app under “Advanced” or “Network Settings”
⚠️ ISP Router/Modem Combos
- Some ISP-provided devices have limited settings
- You might need to enable “Advanced Mode” or “Expert Mode”
- If your ISP router is locked, you may need to:
- Configure DNS on each device individually (see Part 3)
- Or get your own router and put ISP device in bridge mode
Bottom Line: As long as your AdGuard Home device can connect to your network and you can access your router settings to change DNS, you’re good to go!
Quick Reference: Essential Keyboard Shortcuts
Terminal Shortcuts
- Copy in terminal: Select text, then
Ctrl+Shift+C(or right-click → Copy) - Paste in terminal:
Ctrl+Shift+V(or right-click → Paste) - New terminal tab:
Ctrl+Shift+T
New to command line? Don’t worry! Each command is explained in simple terms.
Text Editor Quick Reference
This tutorial uses vim as the command-line text editor to edit configuration files. Here are the essentials:
Installing Vim
First, install vim if you don’t have it:
sudo apt update && sudo apt install vim -y
Using Vim
Open a file:
vim filename.txt
Vim has two modes:
- Normal Mode (default): For commands
- Insert Mode: For typing
Essential commands:
| To Do This | Press |
|---|---|
| Start typing | i (enters Insert mode) |
| Stop typing | Esc (back to Normal mode) |
| Save and quit | Esc, then type :wq and press Enter |
| Quit without saving | Esc, then type :q! and press Enter |
| Undo | u (in Normal mode) |
If you get stuck in Vim:
- Press
Escseveral times - Type
:q!and pressEnter
Paste text: Press i to enter Insert mode, then right-click or Ctrl+Shift+V
Copy and Paste in Terminal
- Copy: Select text, then
Ctrl+Shift+Cor right-click → Copy - Paste:
Ctrl+Shift+Vor right-click → Paste
Note: Regular Ctrl+C and Ctrl+V don’t work in terminal!
Next Steps
Now that you understand the prerequisites and have your hardware ready, continue to Part 2 where we’ll set up SSH, install Docker, and configure a static IP address.
Continue to Part 2: System Setup →
Series Navigation: Part 1 of 4 | Next: System Setup →